Brining 101 - Brining Tips & Tricks

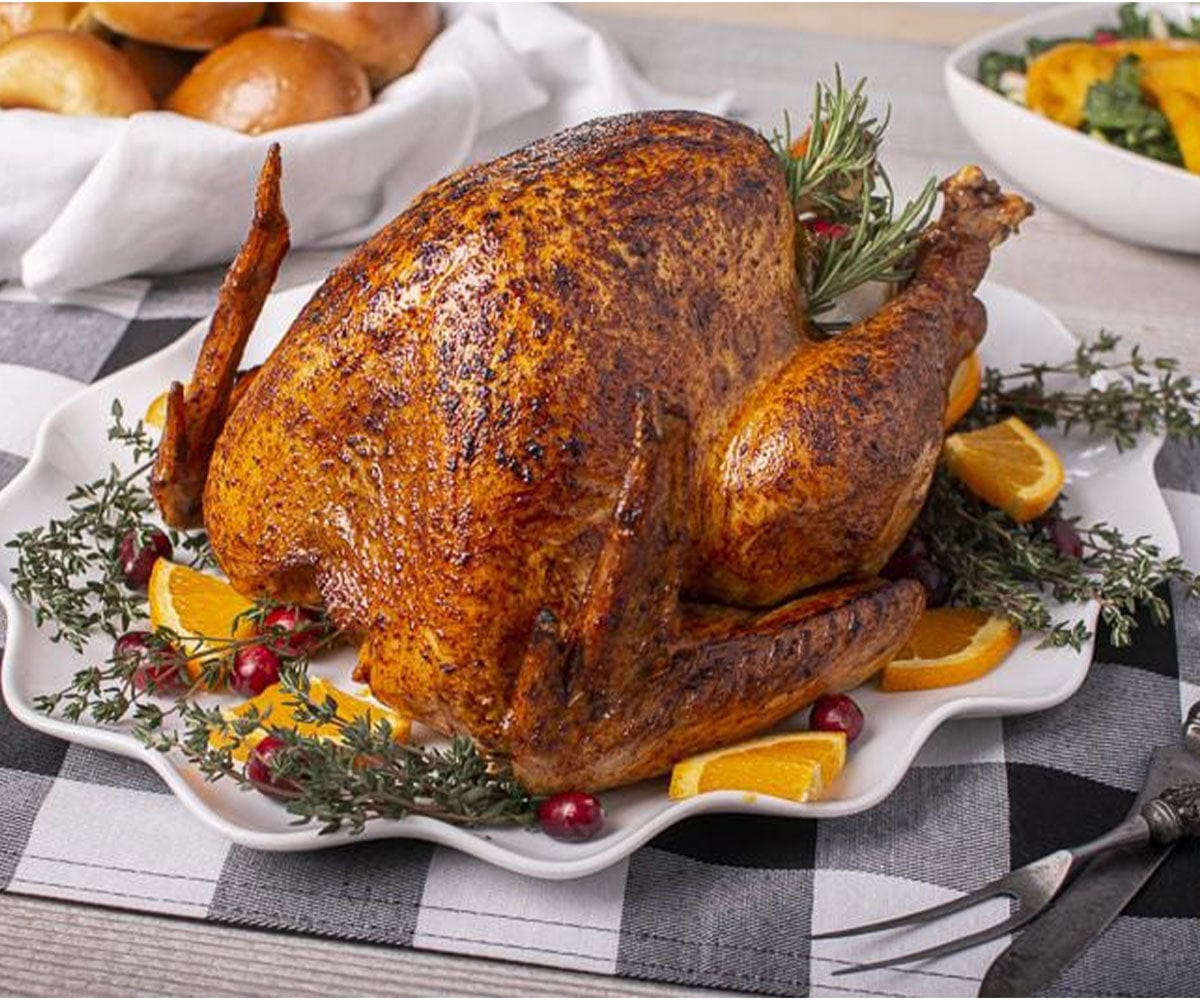
It’s true, brining a turkey takes a long time; but only because turkeys are big birds and simply need more time for the process to work. You might think that while it may be worth it, brining is something you’ll only do for special occasions, but brining can make any protein more succulent.
No matter how you slice it, brining is an extra step, which means it takes more time. So let’s get the time concern out of the way and hopefully keep you interested in adding this process your everyday cooking.
Drum roll, please...the basic brining time equation is: 1 hour per pound
So, for your weekday meal you’ll need an extra hour or so to make it much more flavorful. If you miss by a few minutes either way you’ll be just fine, but for those of you out there who think, “If a little brining is good then a lot of brining must be better,” that’s not really how it works. If you go too much longer than the 1 hour per pound method you risk the protein becoming too salty and over seasoned.
-
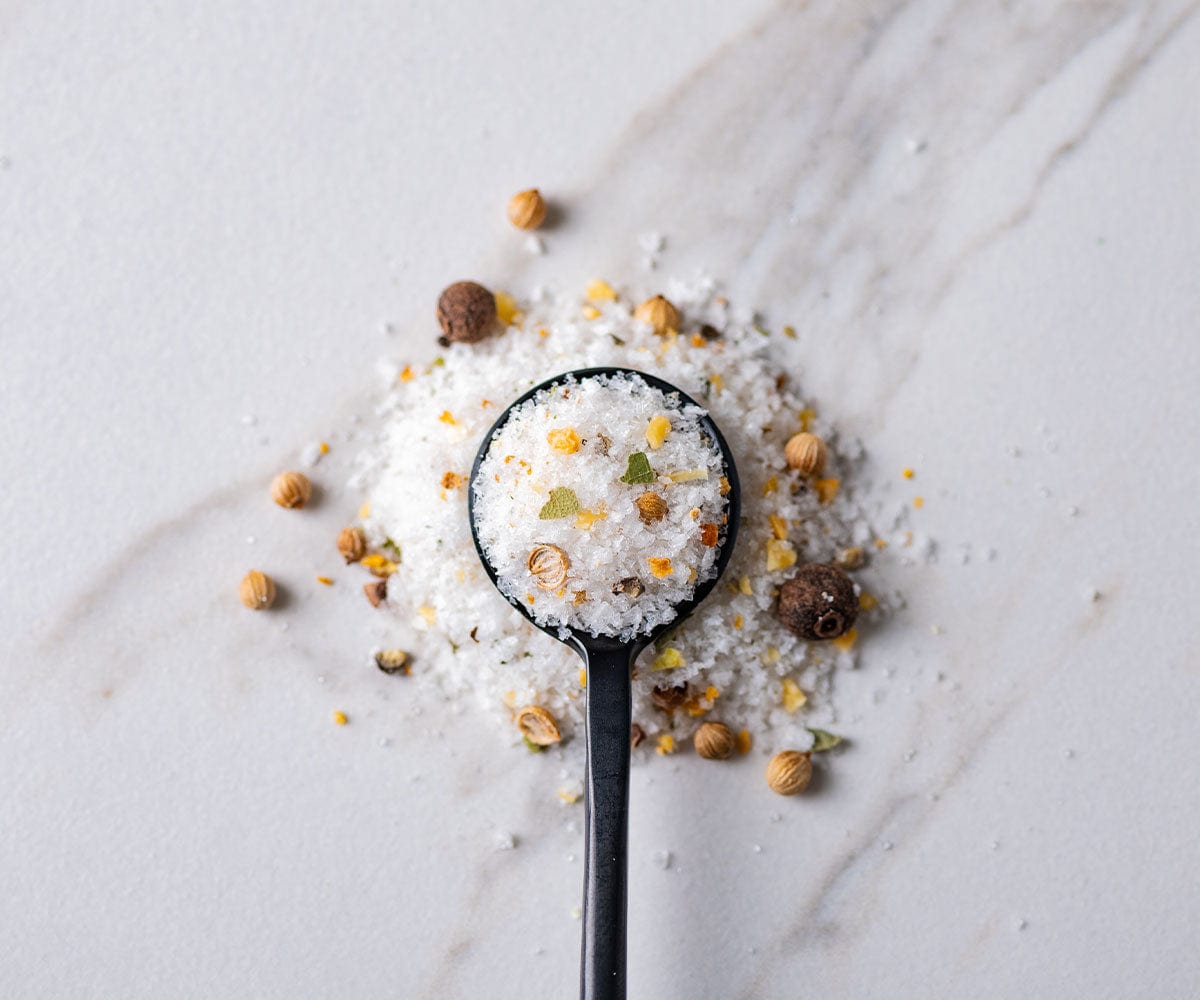
Brining Spice Ready Mix
A ready-to-go and easy-to-use brine seasoning mix for brining turkey, chicken, shrimp, and even tofu. For juicy and tender meat, dissolve one packe...
View full details
-
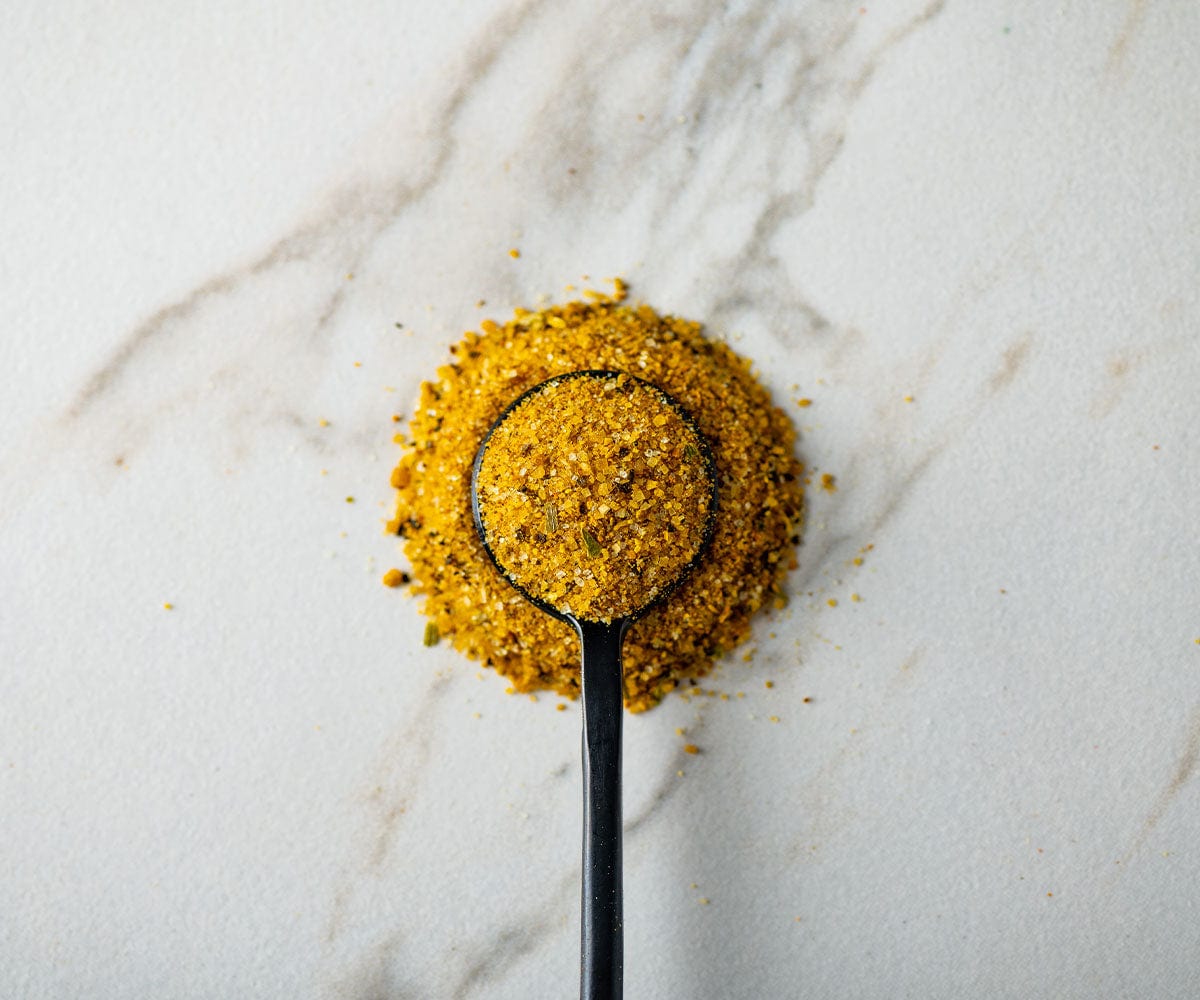
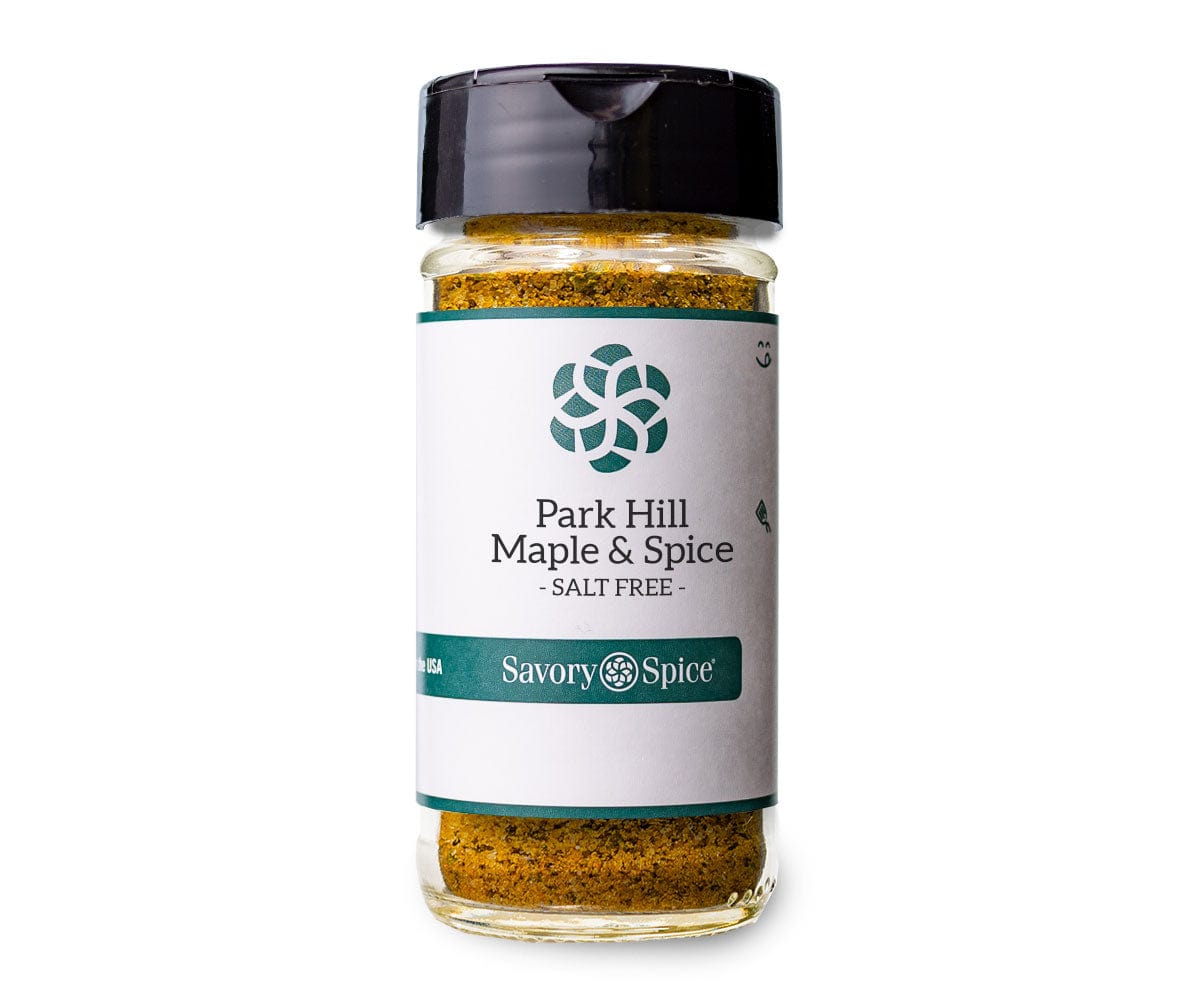
Park Hill Maple & Spice (Salt-Free)
Handcrafted from pure maple sugar and a variety of warm spices and herbs, this maple seasoning is perfect for pork, chicken, turkey or salmon. Star...
View full details

Brining is not just for turkeys!
So, Why bother?
Before we get to the science of how brining works, let’s talk about why you should make the time for this extra step. For me it’s simple—brining makes the food I cook the taste much better, which gets me more compliments, which feeds my ego, which makes me want to cook more. If vanity doesn’t drive you (or even if it does) the real reason you should brine is simple...Brining = Juicy and Tender Protein
The process of brining also has an added bonus of flavor that can be tasted not just on the exterior but throughout the interior of the protein.
Science Check
If you thought you'd never use that high school science, you're wrong. Science is actually a huge part of cooking, we just don't always stop to think about it. But when it comes to brining, if you mix a little diffusion with a little osmosis you can beat back the drying effect that heat has on food. Particularly when you have an extra-large piece of meat that has to be cooked to a safe temperature!
Diffusion: When you place a protein into salty water (the brine), the water contains more salt than the protein does. So to create balance, and equalize the brine and protein, the salt gets absorbed by the protein— not just on the exterior but throughout. That absorption is why we also add spices to flavor a brine.
Osmosis: This is when a liquid travels from an area that has more liquid to another that has less, through a membrane. A brine is almost all liquid and protein isn’t, so the liquid from the brine travels through and into the protein’s cells, hydrating them and resulting in a juicier protein!
Science? Check! Well, almost. What keeps the liquid in while you’re cooking the protein? That would be capillary action.
Capillary Action: This is the manifestation of surface tension. When the salt travels into the protein it makes some of the molecules loosen up. So when you cook the protein, those loose molecules interact and create a shield that traps the liquid.

Recipes for Success
As with most things, there is more than one way to create a brine. In fact, with the involvement of spices and various liquid options, the possibilities are pretty much endless. That said, there are two basic types of brines you can create: cold brine or boiled brine. I prefer the boiled because it can involve the use of spices. But, first things first, let’s deal with what you are going to need whether you use the cold or boiling method.
Brining Basics
Here are the basic brining items you’ll need, along with some recipe calculations to keep in mind:
Container: A non-reactive container (like glass, stainless steel, or a brining bag) large enough to hold the protein and the liquid needed to brine, but small enough that you can refrigerate it to keep the brine and protein cold.
Liquid: Fully submerging the protein in the brine is important, so the shape and size of your container will determine how much liquid you need, Plan on about a pint of liquid per pound of protein. Additionally, water should be the predominate liquid. If you choose to add another liquid for flavoring (like beer or broth), I recommend replacing less than a quarter of the water with the flavored liquid.
Salt: Two types of salt will work: kosher salt or table salt. If using kosher salt, add ¼ cup per quart of liquid. If using table salt, add 2 tablespoons per quart. The reason for the measurement difference is the size of the salt crystals. Kosher salt has bigger crystals and isn’t as compressed as table salt, meaning you can get about twice as much table salt by weight into the same sized volume measurement container.
Sugar: This is an optional ingredient and is typically used to balance the saltiness of a brine. Use about 2 tablespoons per quart of liquid. You can decrease that amount if desired, but I wouldn’t recommend using any more or it could make the final cooked protein burn easier and taste too sweet. If you are using a sugar-heavy seasoning (like Park Hill Maple & Spice or Pearl St. Plank Salmon Rub) to flavor the brine, you can reduce the sugar or skip it all together.
-
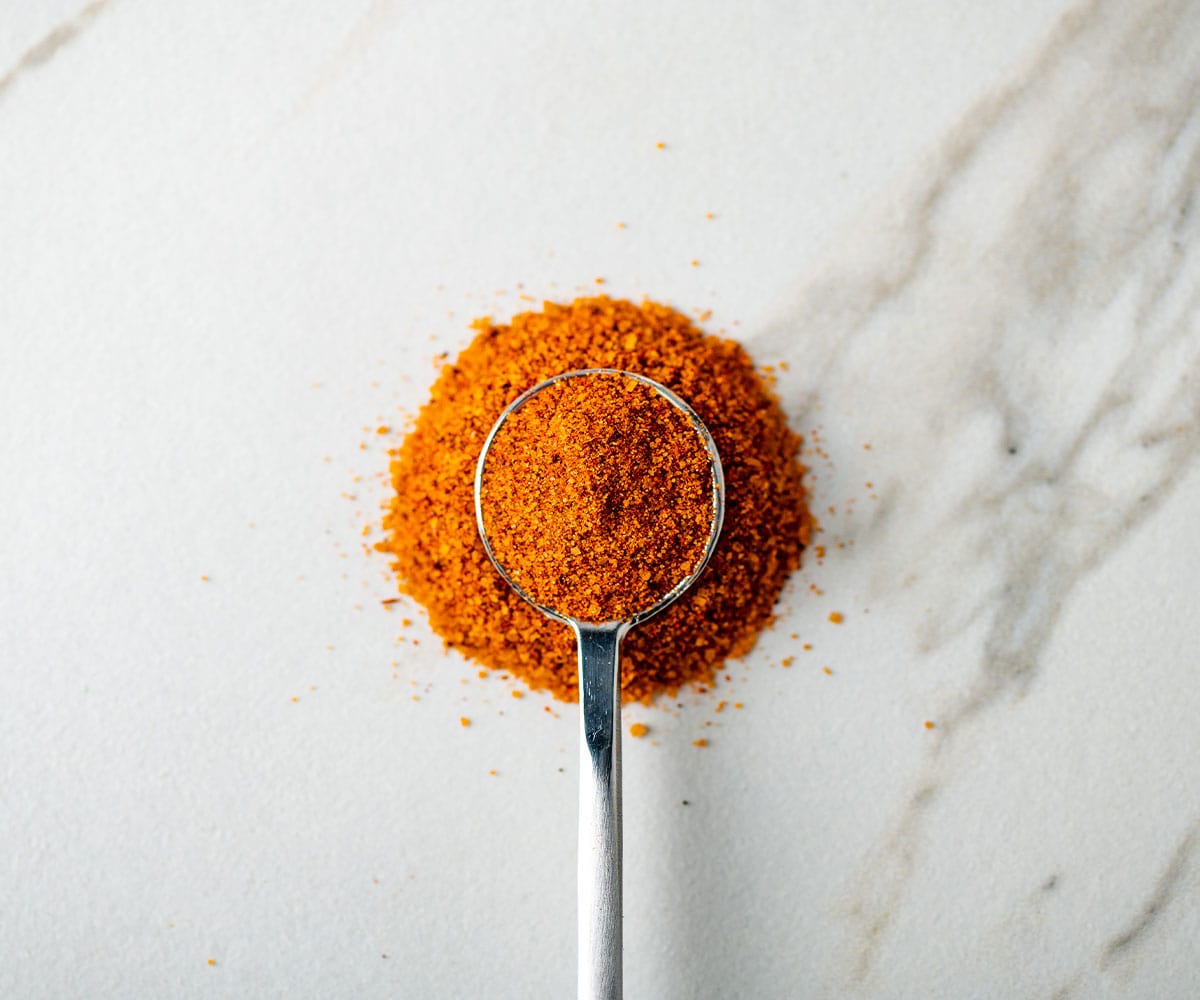
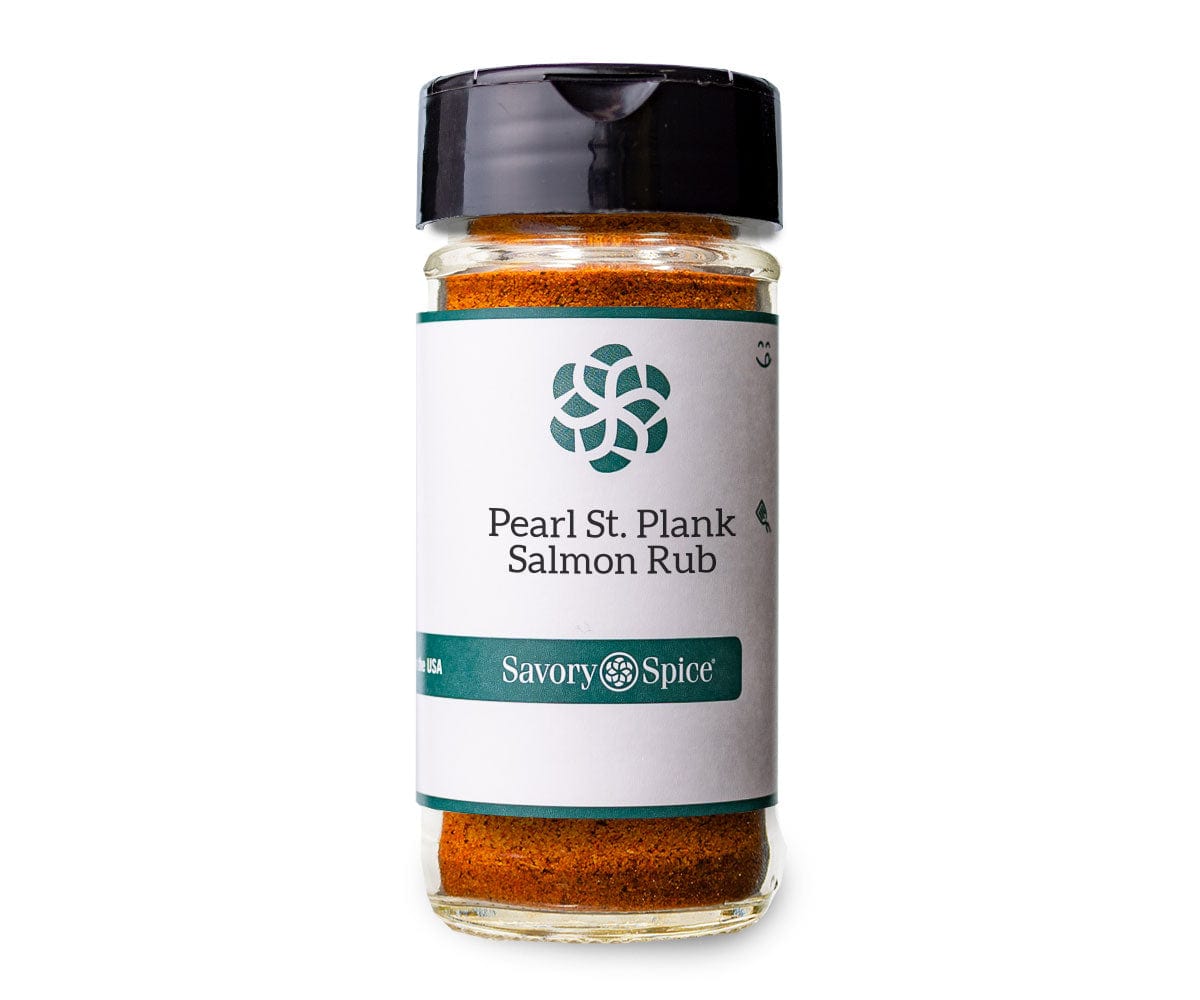
Pearl St. Plank Salmon Rub
Our famous salmon seasoning rub was created with a specific cedar plank grilled salmon recipe in mind. This salmon seasoning is sweet, smoky, spicy...
View full details
-
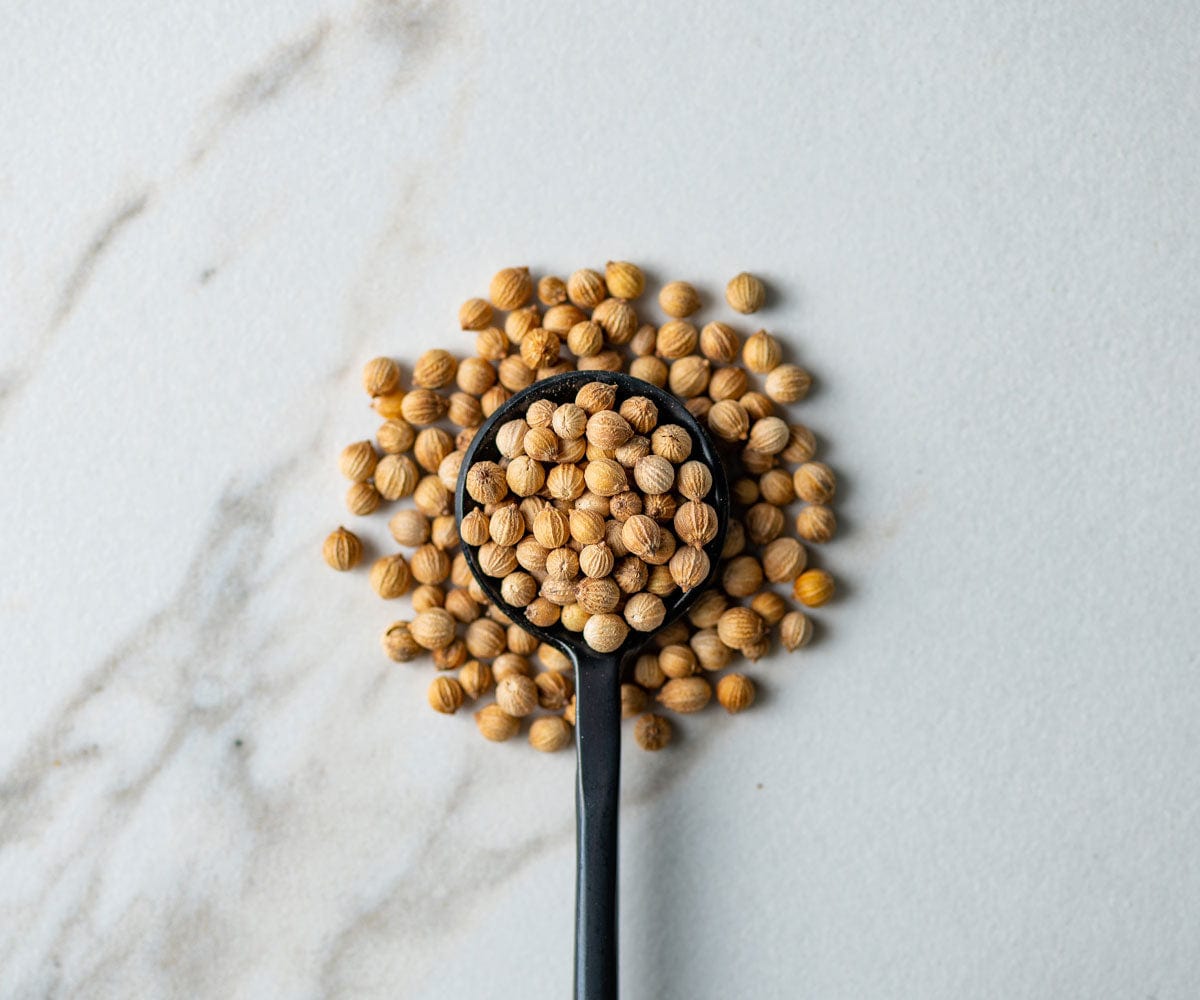
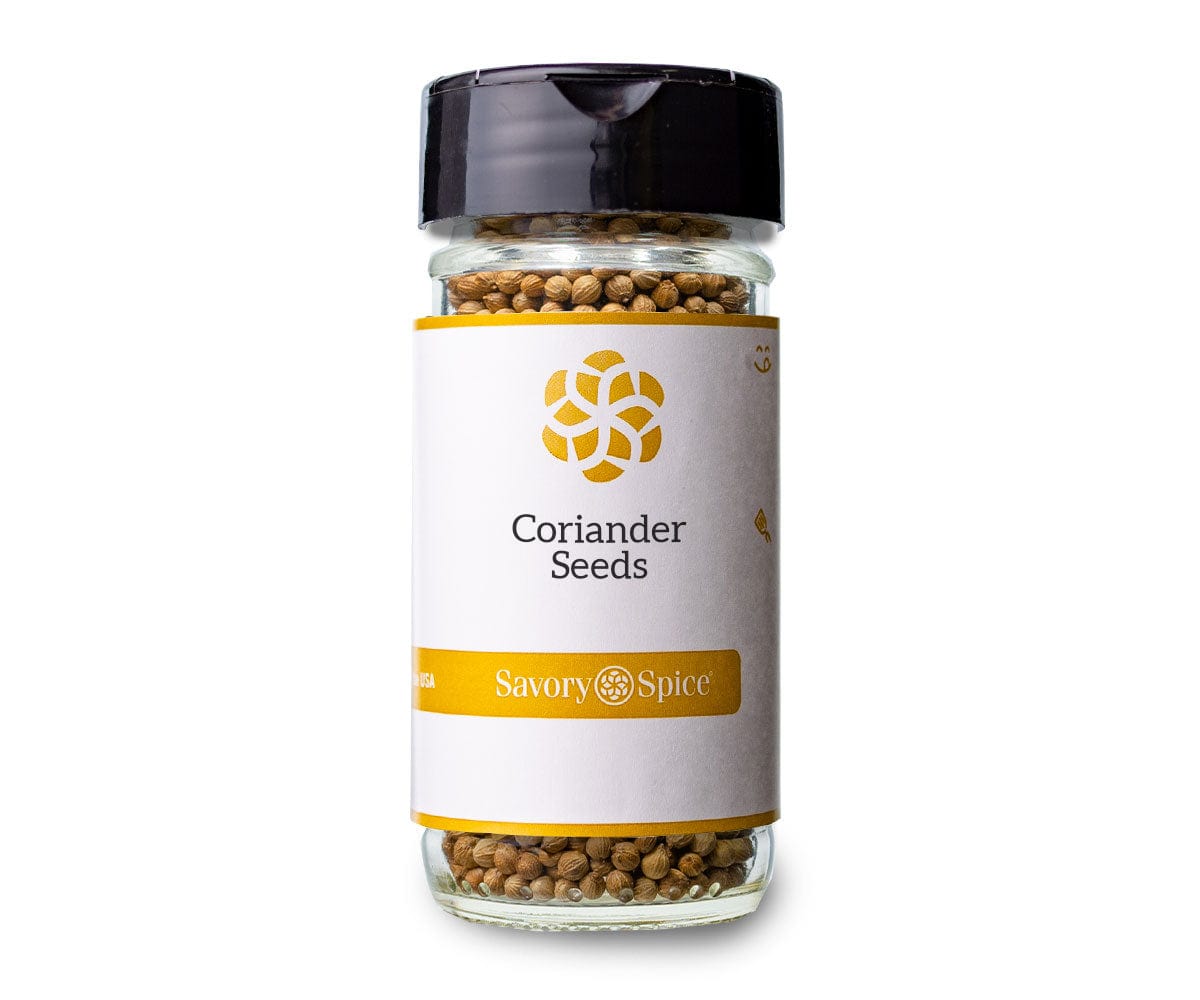
Coriander Seeds
Used to season savory dishes, such as vegetables and masalas. Add coriander seeds to your favorite pickling brine for a sweeter, citrusy flavor. To...
View full details
Cold Brine (brrr!)
A cold brine is the simplest way to brine. However, with this method, you are limited to salt, sugar, and liquids as your flavoring options. (No spices? The horror!) The reason spices don't work well in a cold brine is because heat (or extensive time) is required for most spices (like peppercorns, bay leaves, and garlic, among others) to infuse their full flavor into liquid.
Step 1: Mix together liquid, salt, and sugar (if using) until salt and sugar are fully dissolved.
Step 2: Add the protein to the brine, making sure that it is fully submerged.
Step 3: Leave the protein in the brine for an hour per pound. Store in the refrigerator, as the brine must be kept cold at all times during the process.
Boiled Brine (with spices of course!)
A boiled brine requires a little more work, but in my opinion well worth it to infuse the protein with additional flavors. Spices—whether they’re whole, ground, dried herbs, or even one of our signature seasonings—need the heat from the boiled liquid to release their flavor and truly impact the tastiness of the cooked protein. You'll need about 1 tablespoon of seasoning per quart of brining liquid.
Step 1: In a saucepan over medium-high heat, dissolve the salt and sugar (if using) into 1½ cups of the liquid. When dissolved, add the spices and/or flavorings and bring to a full boil for 1 to 2 minutes.
Tip: There is no need to boil all the brine liquid because you can fully dissolve the salt and sugar and extract the flavor out of any seasonings in 1½ cups of liquid.
Step 2: Allow boiled brine to cool completely to room temperature.
Tip: You can speed up the cooling process by adding ice cubes or the rest of your liquid (chilled) to the boiled brine.
Step 3: Add cooled, seasoned brine to the remaining liquid you measured out. Add the protein, making sure that it is fully submerged. Leave the protein in the brine for about 1 hour per pound. Store in the refrigerator, as the brine must be kept cold at all times during the process.
Step 4: Remove protein from brine, discard brining liquid, and prepare for whatever cooking method you plan to use.
Flavoring a Brine
Think of brining like a blank canvas—the possibilities are endless in terms of the flavor combinations. Any and all spices and seasonings are in play, whole spices (like seeds, peppercorns, etc.) tend to work best. Our Brining Mix features aromatic garlic and bay leaves, the citrus flavors of coriander, lemon, orange, and lemon verbena, as well as sweet allspice and sharp peppercorns. It's a great all-purpose blend for brining turkey, chicken, pork, or shrimp.
-
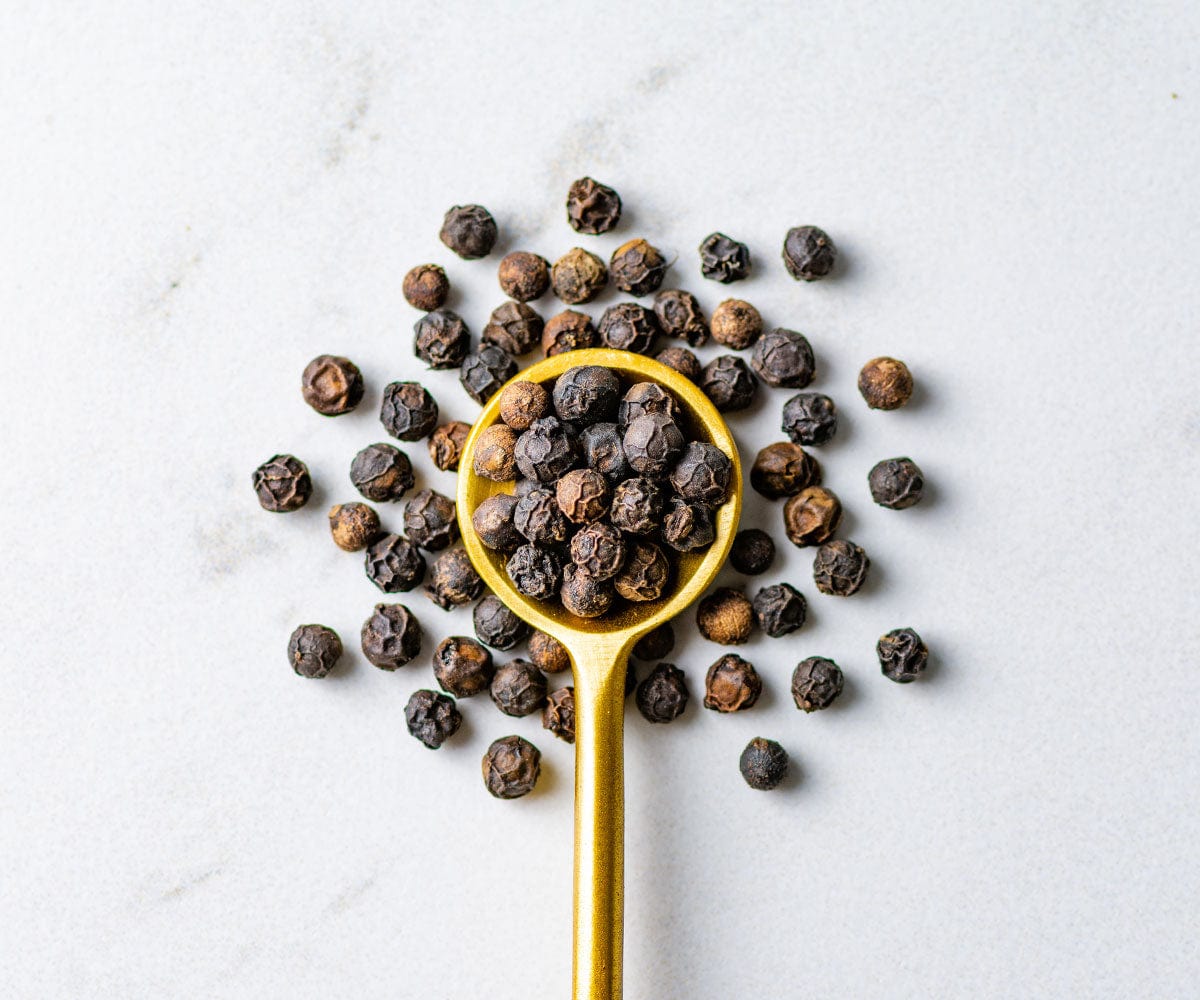
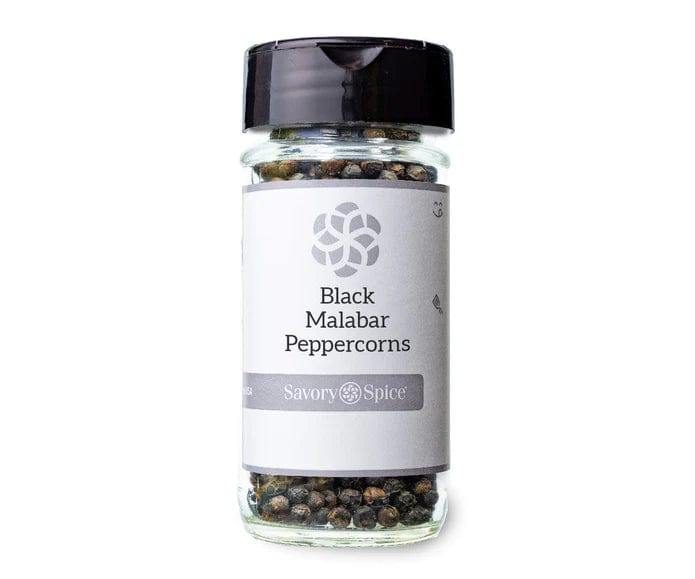
Black Malabar Peppercorns
Familiar, bold tasting black peppercorns. Grind in your peppermill or grinder for the dinner table. Malabar pepper can be used in nearly any savory...
View full details
If you want to branch out a bit, however, you can easily mix up your own brining mix to take your brine in a different direction. Fresh aromatic ingredients, like shallots, onions, garlic, and herbs, are options as well. When it comes to liquids, apple or citrus juices, beer or wine, and even vinegars can be particularly impactful.
Brining Tips & Tricks
Here are a few tips and tricks that apply to both the cold and boiled brining methods:
- Before you begin brining you need to figure out how much liquid you will need to fully submerge the protein. This will allow you to calculate the amount of salt and sugar needed. To do this, simply place the protein into the container and, using a measuring cup, calculate the amount of liquid it takes to completely submerge your protein. Now that you have that info, you can figure the proper salt and sugar ratios.
- Once you add the protein to the brine, if the protein starts to rise and float on the surface of the liquid, place a plate or something similar on top to weigh it down. (You can also put the brine and protein into a large zip top bag to keep it fully submersed).
- If you are using pieces of protein, the average weight of the pieces (not the total weight) is used to calculate the brining time. Example: 3 one-pound pieces of protein = 1 hour of brining (not 3 hours). The exception to this rule is pieces weighing 8 ounces or less (like shrimp); those should brine for no more than 30 minutes.
- Whether you use the cold or boiled method for brining, you will need to thoroughly rinse and pat the protein dry after you are finished brining. If crispy skin is desired, let the protein air dry in the refrigerator, uncovered, for about an hour.
To brine or not to brine?
It's important to mention here that some meats simply don’t benefit from brining. Fattier meats like beef and lamb are usually cooked to lower finished temperatures, keeping them juicy and tender. Game birds (like duck, squab, and goose) also contain more fat so they don’t really benefit from brining.
Just about all other proteins can benefit from brining, including some shellfish and even tofu. Brining vegetables is even an option for adding flavor (and we're not talking about pickling, though that is a form of brining too!)
Brining vs. Marinating
On the surface, the answer is no. Marinating tenderizes and adds flavor to the surface of the protein (not to the interior like brining does). And marinating really doesn’t do anything to increase the protein’s juiciness.
That said, if you brine first you can significantly decrease or even eliminate marinating time altogether and use a dry rub to flavor the exterior of the protein.
For example, when I’m making chicken I typically marinate it for 6 to 8 hours. But when I brine the chicken first, I can then marinate for just 1 to 2 hours and achieve juicier results than marinating alone. Because I generally use chicken pieces rather than a whole bird, the brining only takes 30 minutes. So I can brine for 30, marinate for 60, and cook in 30. This approach produces a better, more flavorful and juicy chicken in a quarter of the recommended marinating time! So while brining doesn’t replace marinating, using a combination of techniques can actually be even faster.
That’s a lot of info for a Brining 101!
But in the time it took you to read this you could be well on your way to having your brine completed. I hope you give it a try. I definitely think you’ll be pleased and realize that it’s worth the little bit of extra effort.
What’s your favorite protien or veggie to brine? Let me know in the comments below and tag @savoryspiceshop on Instagram with your brining techniques!


Leave a comment